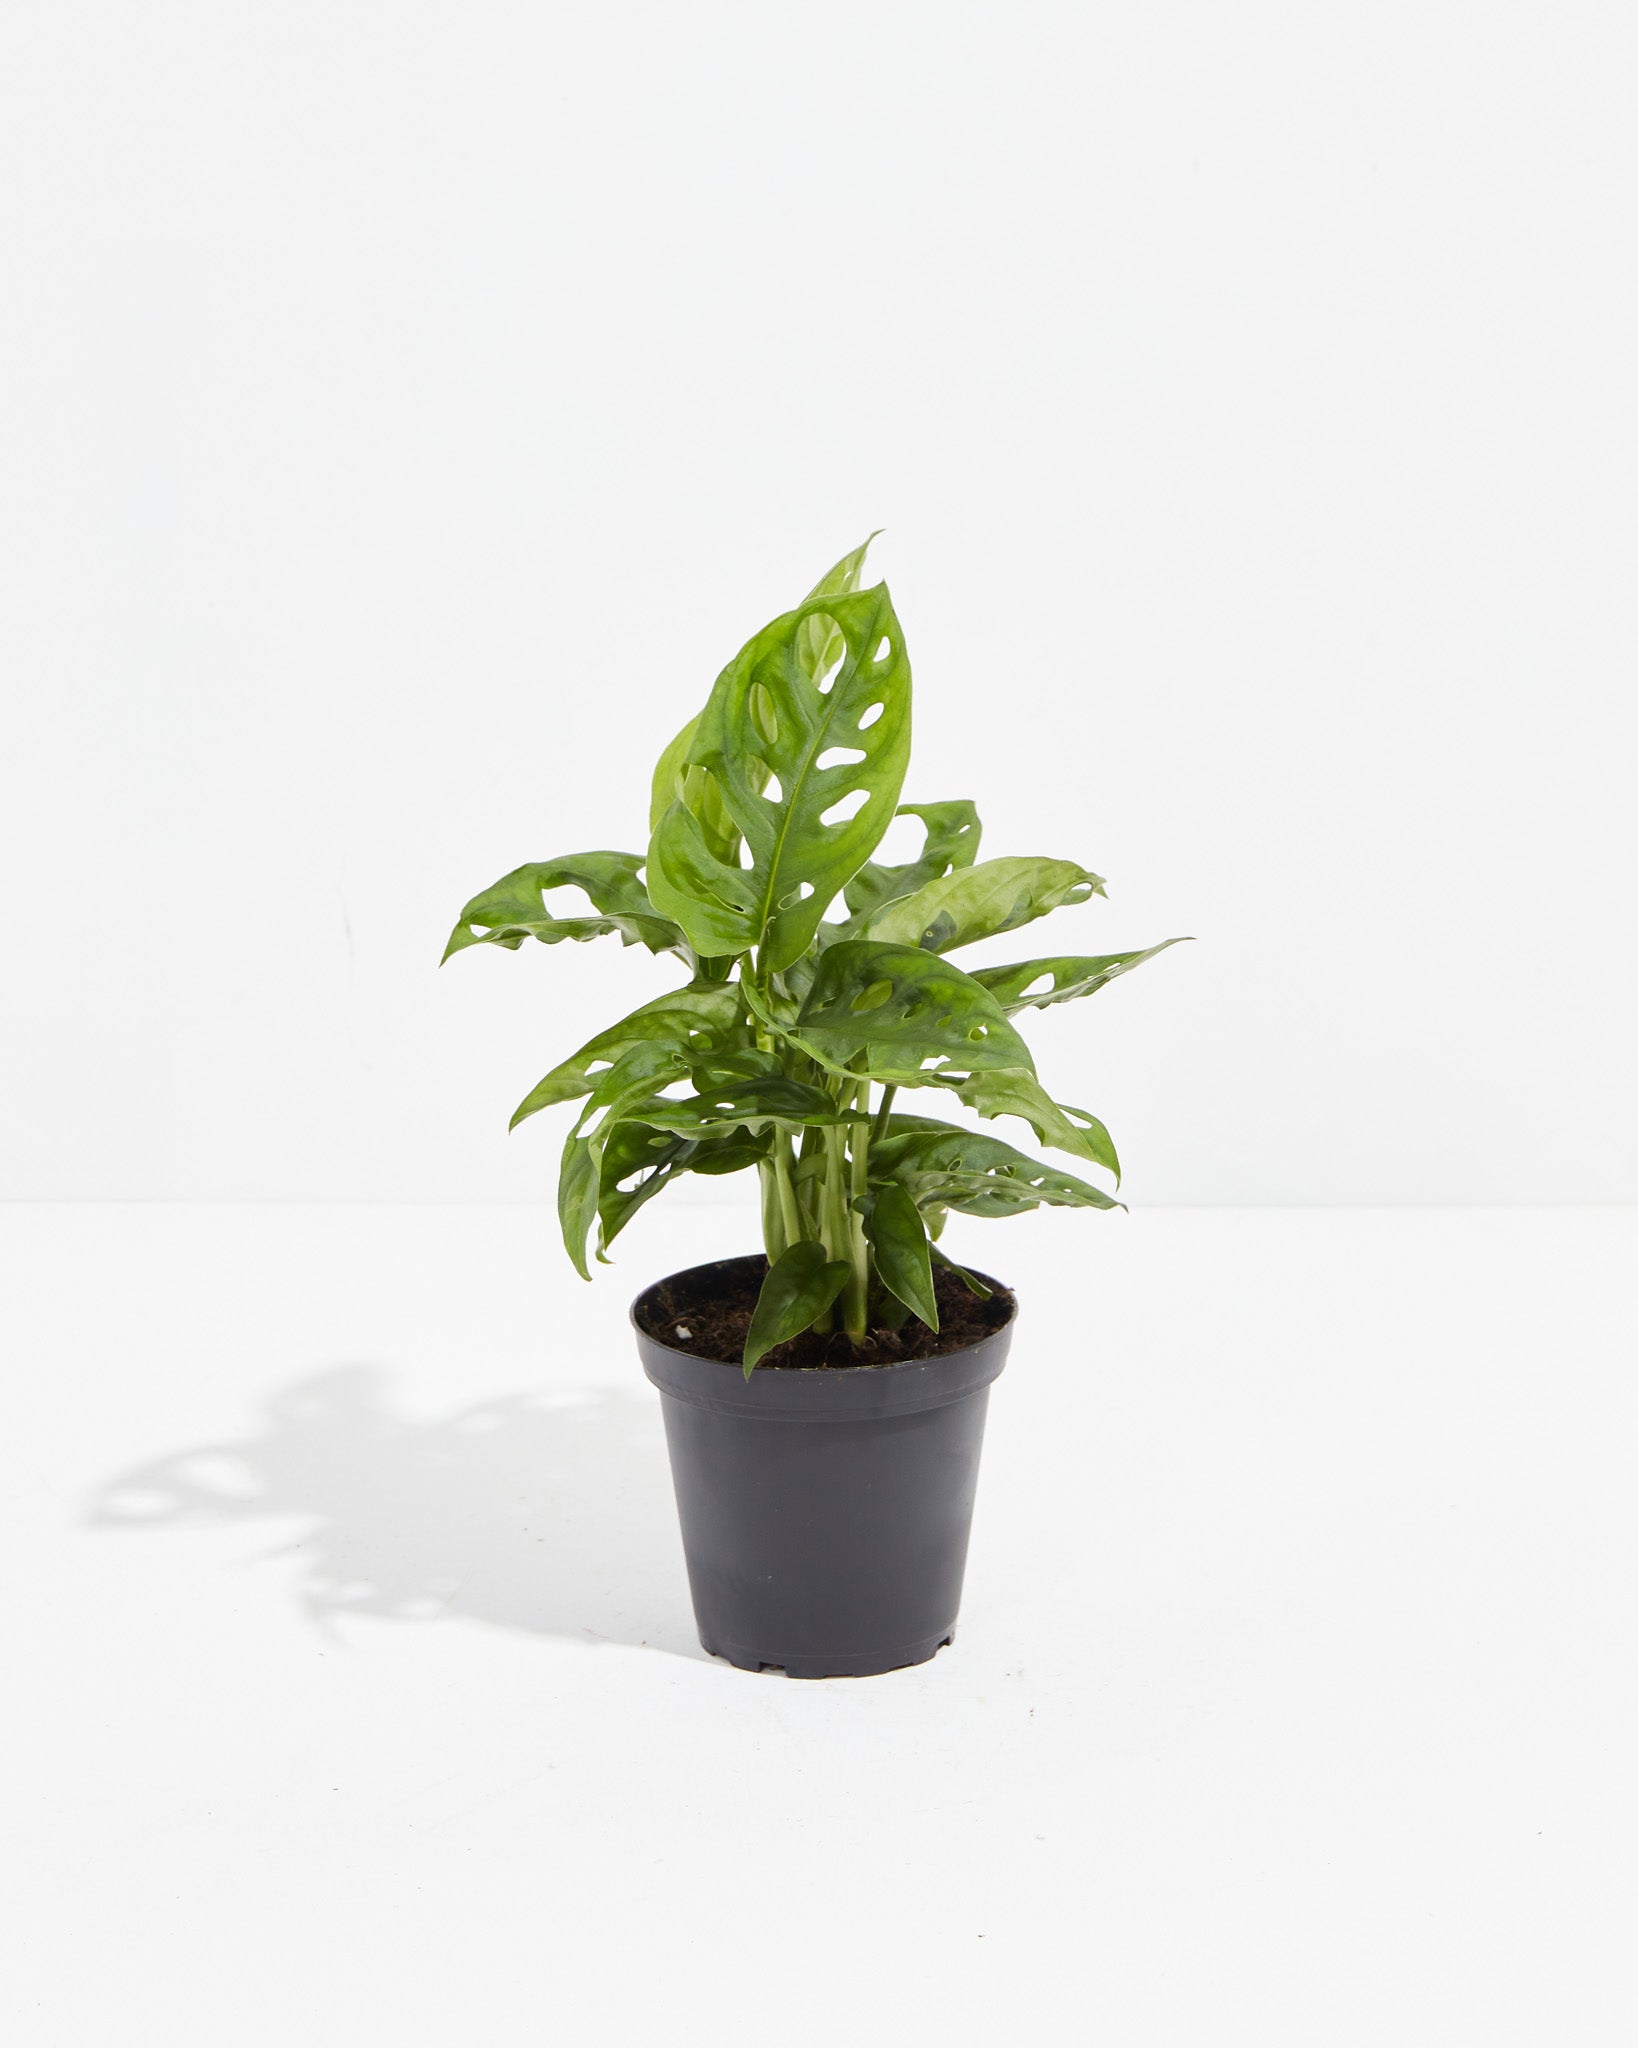
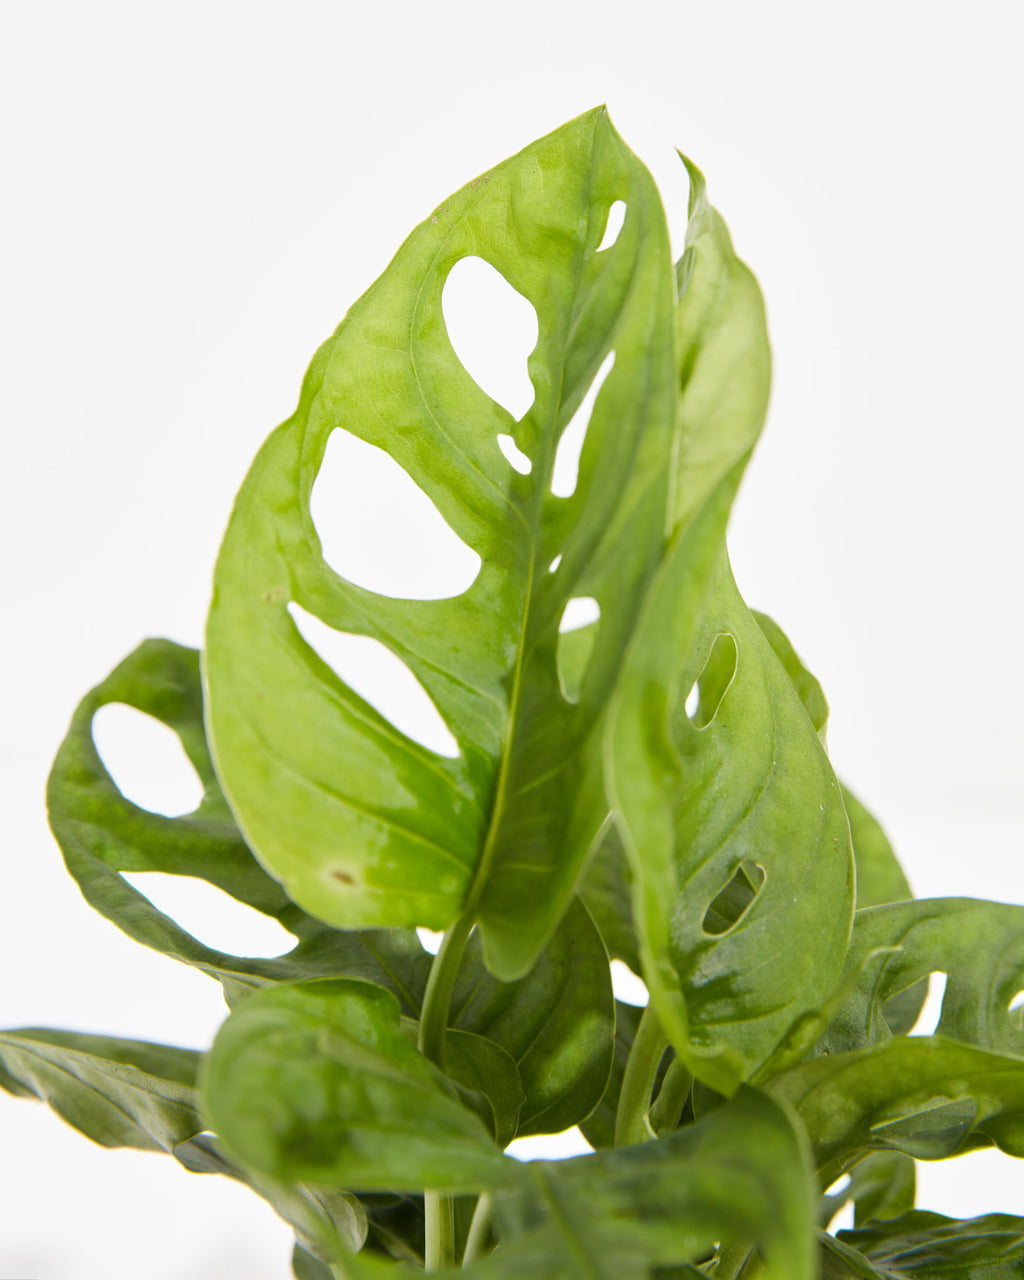
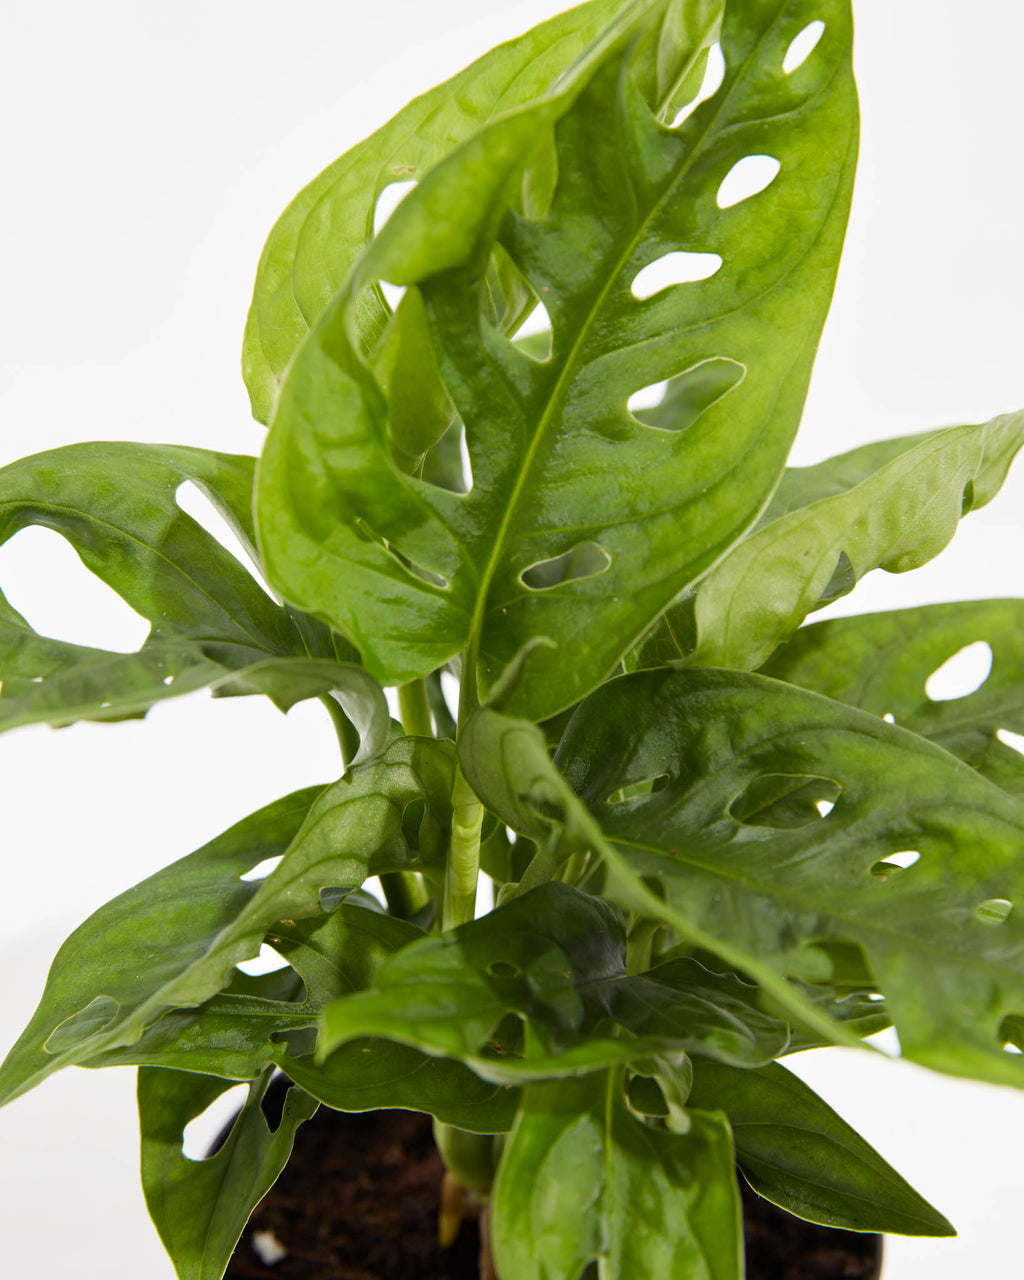
Monstera adansonii Care Guide

-
LightHigh
Indoors: Bright, indirect light in a southern, eastern exposure. Outdoors: Bright, indirect sunlight on a covered sunlite covered porch. Bring in when temperatures are below 55°F at night. -
WaterLow
Water when the soil is dry on your moisture meter. Check the moisture each week in the summer and every two weeks in the winter. Use filtered, bottled, or tap water sitting 24 hours to release the chemicals. Take the plant out of your decorative container and water enough that the water discharges out of the drainage holes. Once the water is fully drained, replace them into the cache or decorative pot. Water consistently and rotate your plant one quarter turn each time you water for consistent sunlight exposure. -
HumidityHigh
Keep medium to high humidity around this plant on average at 50%. Add a gravel tray, or use a humidifier or group with other plants. Spritz daily. Use filtered water to prevent hard water spots on the leaves. -
Temperature 65 to 85
Average comfortable room temperatures will be sufficient. These plants do not like cold temperatures under 55°F. -
Hardiness Zones10|11
This plant can thrive outside in a brightly covered area out of direct sunlight getting 6-8 hours where temperatures are above 55°F at night. -
FertilizingMonthly
Add a balanced liquid fertilizer once a month when watering during the growing season between spring and fall. Give them a rest during the winter months while they are in dormancy. -
Re-potting3 Years
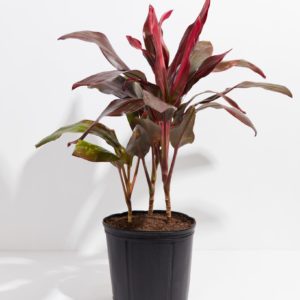
When receiving the Dracaena Tree do not repot immediately but wait at least 6-12 months. Repot every 3-5 years or when the roots are beginning to get crowded and growing through the drainage holes. Repot in the spring, using a 2 inches bigger pot to keep the roots drier.
Place a piece of screening at the bottom of the container over the drainage hole to secure the soil and allow to drain. Use a well-draining indoor potting mix with perlite to help with drainage.
Water your plant in the old pot before transferring over and let sit an hour.
Add soil to the bottom to elevate the root ball. Lift the plant and release the roots against the existing planter. Use a clean knife or garden trowel to wedge between the pot and the soil to loosen.
Inspect the root ball. Notice if there are any dead or rotting roots and trim off with sterile pruners. If the plant is rootbound, cut through the roots to alleviate continued encircling.
Ensure the plant is sitting about 1 inch below the edge of the pot to avoid water spillage. Add more soil and backfill around the sides by tamping down. Fill up to the soil line but not over.
Water thoroughly, leaving the soil damp but not soggy. If settling occurs, add more soil.
Water well to dampen the soil and let drain.
-
CleaningMonthly
Suppose your indoor plant has gotten too leggy or long and losing some of their bushiness on top; early on, start tip pruning to keep them lush. Use the cuttings for propagation. To clean the leaves, either take your plant to a tub or shower and shower the leaves with filtered water from a handheld watering can or spray down the leaves with a spritz bottle. Clean the soil of any debris and replenish them with fresh soil if depleted.
-
PropagationCuttings
To propogate, find the node with an aerial root and cut below this node making sure at least one leaf is attached. Dip the bottom end into rooting hormone and prepare the damp potting mix as if you were repotting. Sink the end down into the soil about a half inch. Keep the soil moisture consistent for 4-6 weeks until the roots establish. Keep the cutting in a bright, indirect, humid area.
You can also take the propagation and place the node with leaf into filtered water and let them root this way. Once the roots grow about 1 inch long, transplant them into rich, damp potting mix amended with coco fiber, perlite, orchid bark and worm castings.
Reviews
There are no reviews yet.